In this quick guide, we’ll walk you through the simple steps to download and install SSMS on your Windows machine. Plus, we’ll throw in some handy tips to enhance your SSMS experience.
SSMS Download
Head to the official Microsoft website and download SQL Server Management Studio (SSMS).

The page linked here will show the latest SSMS version, v19.2 at the date of publishing this post.
SSMS Install
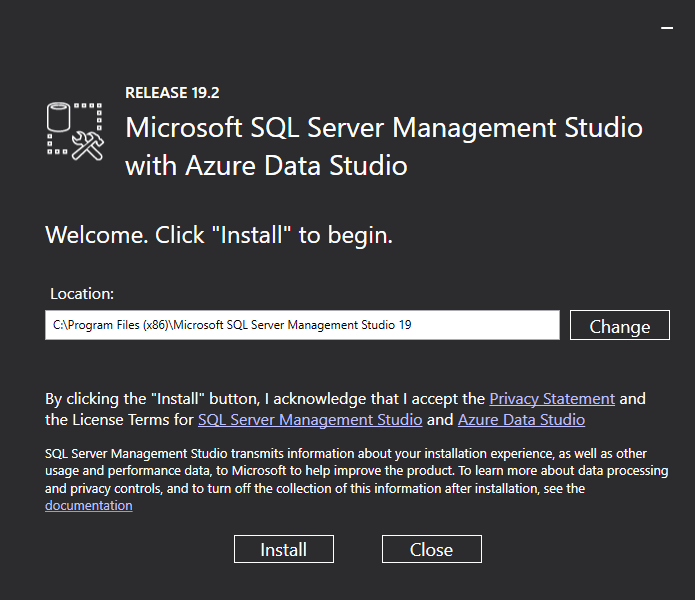
Locate the downloaded installer and run it.

It’s as simple as that. You now have a tool ready for connecting to a SQL Server. Search for ‘SSMS’ to run the app.
SSMS Tips and Tricks
1. Dark Theme for Eye Comfort
- Navigate to “Tools” > “Options” > “General.”
- Under the “Color theme” dropdown, select “Dark” for a visually soothing experience during those late-night query sessions.
2. Keyboard Shortcuts for Efficiency
- Learn essential keyboard shortcuts like Ctrl + N (New Query), Ctrl + S (Save), and Ctrl + E (Execute Query) to streamline your workflow.
3. Registered Servers for Easy Access
- Use the “Registered Servers” feature to save connection information and swiftly switch between different SQL Server instances.
4. Zooming In for Precision
- Enhance your focus by zooming in on query text. Use Ctrl + Mouse Wheel or Ctrl + + (Zoom In) and Ctrl + – (Zoom Out).
5. Customize SSMS Layout
- Tailor SSMS to your liking by adjusting the layout. Drag and drop panels, resize windows, and create a workspace that suits your preferences.
Now you’re ready to dive into the world of SQL Server Management Studio! With these quick steps and handy tips, you’ll be navigating and optimizing your databases with ease. Happy querying!
