Changing the schema of a table in SQL Server is a task that might not come up often, but it’s crucial to make this change with care when it does. Whether you’re a Database Administrator or a Developer, knowing how to do this is valuable.
This guide shows how to change the schema of a table in SQL Server, moving from one schema to another using the ALTER SCHEMA T-SQL statement. When making such changes in a Production SQL Server database, it’s essential to ensure that all user and application SQL queries referencing the table are updated with the new schema name. As well as testing, as as best practise prior to making changes on important SQL Servers, we should review MS Docs: ALTER SCHEMA.
How to Change for a Table Schema in SQL Server
1. Create New Schema
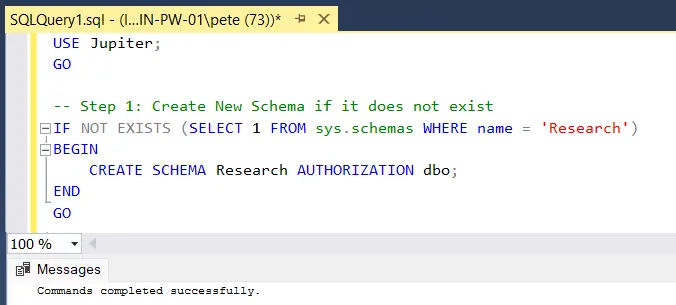
First up in this demo, we will create a new schema using the CREATE SCHEMA SQL command. Ensure you set the appropriate schema ownership, typically this will be set to dbo. Refer to Microsoft Documentation for more information on limitations and ownership restrictions when creating new schmeas in SQL Server.
USE [Jupiter];
GO

-- Step 1: Create New Schema if it does not exist
IF NOT EXISTS (SELECT 1 FROM sys.schemas WHERE name = 'Research')
BEGIN
    CREATE SCHEMA Research AUTHORIZATION dbo;
END
GO

This script checks if the Research schema exists in the database. If it does not exist, it creates the schema. If it already exists, the script does nothing.
2. Changing Schema for a Table
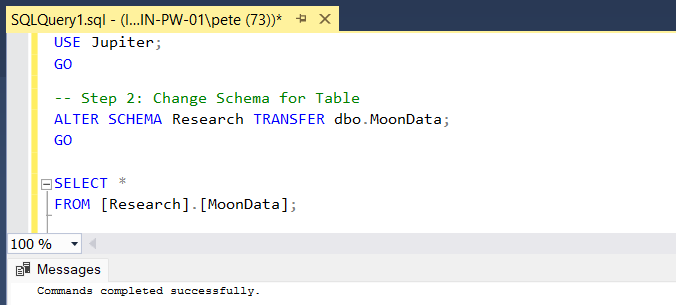
Next, we’ll migrate a table to the new schema using the ALTER SCHEMA statement.
-- Step 2: Change Schema for Table
ALTER SCHEMA Research TRANSFER dbo.MoonData;
GO

Now, the “MoonData” table belongs to the “Research” schema.
3. Verification & Final Steps
Remember to update all queries referencing the table with its new schema name. Additionally, refresh SSMS IntelliSense (CTRL + SHIFT + R) if necessary.
-- Query Updated Table
SELECT *
FROM [Research].[MoonData];
By following these steps, you can safely and efficiently change the schema of a table in SQL Server.
