
PowerShell, a powerful command-line tool and scripting language, provides a versatile set of commands to manage and automate tasks in Windows environments. One of the most frequently used commands is Get-ChildItem (alias: gci). In this guide, we’ll delve into the functionalities of Get-ChildItem and explore practical examples.
Overview of PowerShell Get-ChildItem
Get-ChildItem is designed for navigating and interacting with the items within a specified location, such as files, folders, or registry keys. Whether you’re a system administrator, developer, or just an enthusiast exploring PowerShell, mastering Get-ChildItem is essential.
Get-ChildItem: Basic Usage
Let’s start with a basic usage example. Open a PowerShell session, navigate to your desired directory, and run the Get-ChildItem cmdlet:
# Navigate to desired directory
cd d:\mssql_backups

# List items in directory
Get-ChildItem

# List items in directory using Get-ChildItem Alias
gci
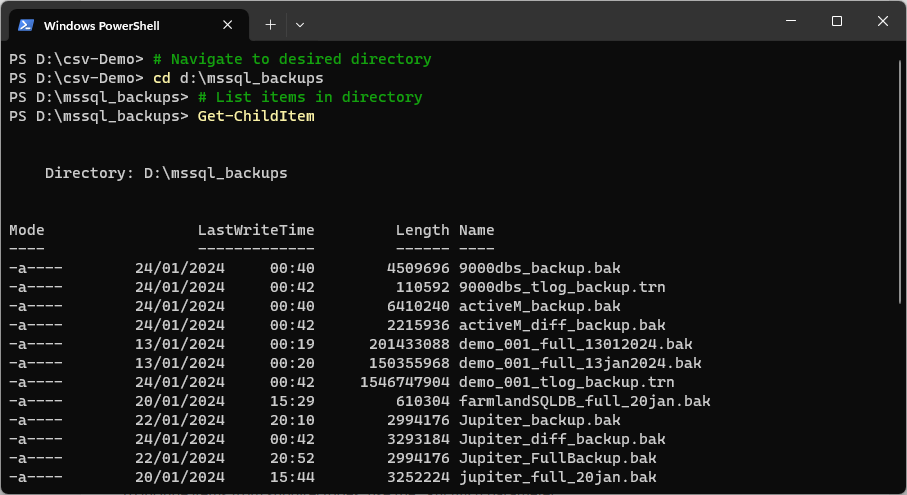
This command displays a list of items in the current directory, including files and subdirectories.
Get-ChildItem: Filtering Items
To narrow down the results, you can use wildcards and filters. For instance, to list only text files, you can use:
# List .bak (MSSQL Backup) files with PowerShell
Get-ChildItem *.bak

Get-ChildItem: Recursion with -Recurse
To include items from subdirectories, use the -Recurse parameter.
# Get Child-Item including subfolders
Get-ChildItem -Recurse
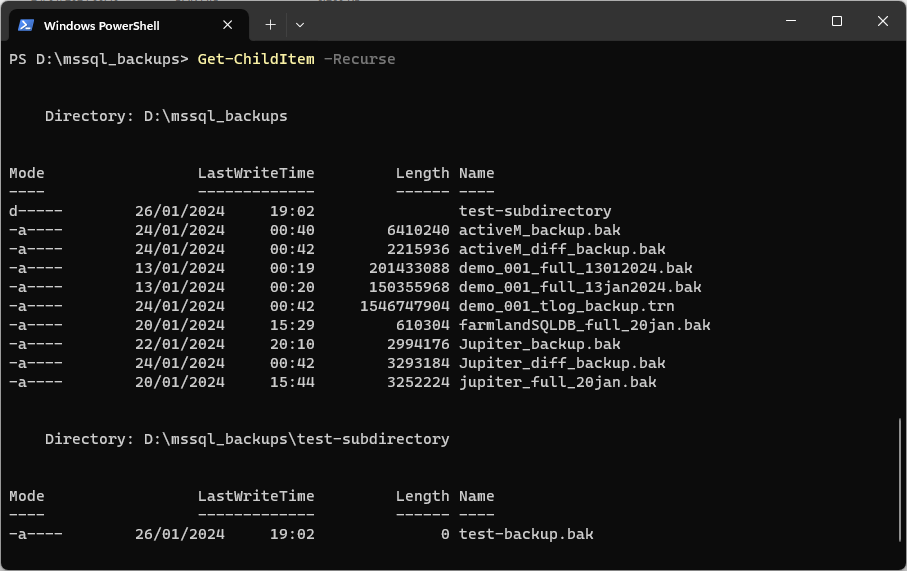
This recursively lists all items in the current directory and its subdirectories.
Get-ChildItem: Displaying Detailed Information
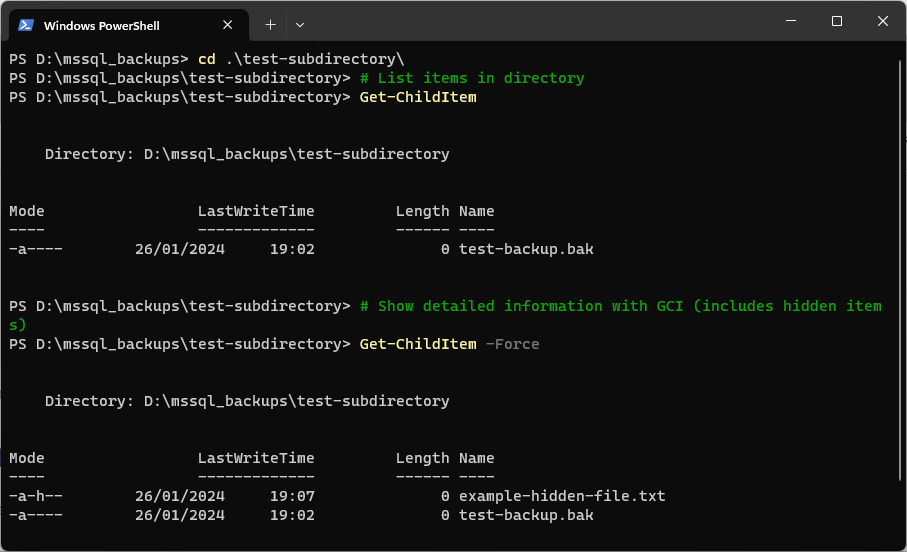
Retrieve detailed information about items using the -Force parameter. This includes hidden items and displays some other additional details:
# Show detailed information with GCI (includes hidden items)
Get-ChildItem -Force
Get-ChildItem: Sorting and Formatting Output
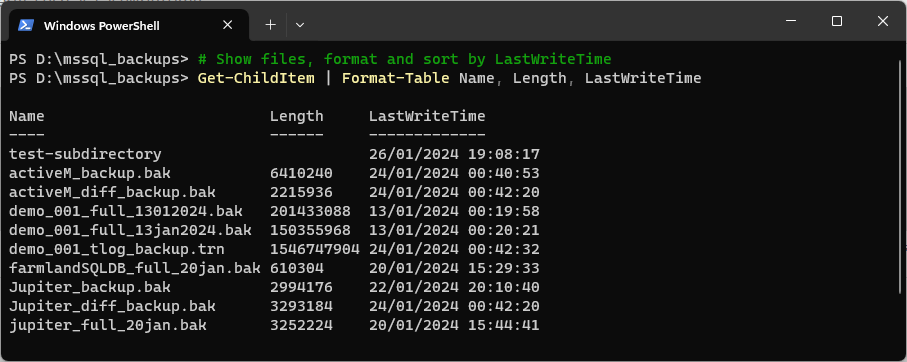
Sort items by a specific property, such as LastWriteTime and format the output using Format-Table or Sort-Object:
# Show files, format and sort by LastWriteTime
Get-ChildItem | Format-Table Name, Length, LastWriteTime

# Alternative formatting (Sort-Object)
Get-ChildItem | Sort-Object LastWriteTime
Get-ChildItem: Advanced Filtering
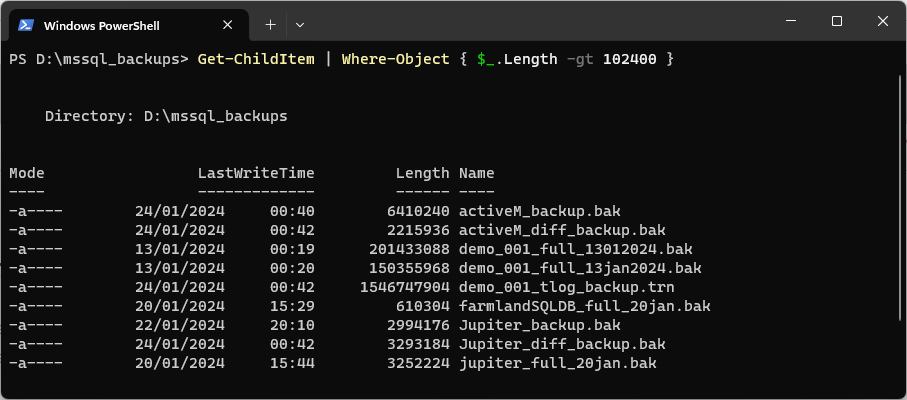
Leverage advanced filtering with Where-Object, show items larger than 100MB in the directory:
# Get-ChildItem show files over 100MB
Get-ChildItem | Where-Object { $_.Length -gt 102400 }
Conclusion & Follow-up PowerShell Guides
Mastering Get-ChildItem empowers you to efficiently navigate and manage your file system through PowerShell. Experiment with the provided examples and explore its various parameters for a seamless PowerShell experience.
For in-depth information, refer to the official Microsoft documentation for the Get-ChildItem cmdlet.
For more PowerShell Scripts and tips here on DBASco, check out this link: PowerShell Scripts
More specifically, here are some blog posts relevant to/utilize the Get-ChildItem cmdlet:
– PowerShell Script: List Files with Sizes and Dates
– PowerShell Script: Remove Quotes from CSV Files in a Folder
– PowerShell Script: Deleting Files Older Than a Specific Date
– PowerShell Script: Count Rows in CSV Files