This post contains a guide on how to export data from SQL Server to your local desktop using SQL Server Management Studio (SSMS).
The default export option in SSMS is Column-Aligned, and we need to change it to Comma-Delimited to align the data correctly for CSV output. This post first shows how to change this, then we run a SQL query outputting the data as a local CSV file.
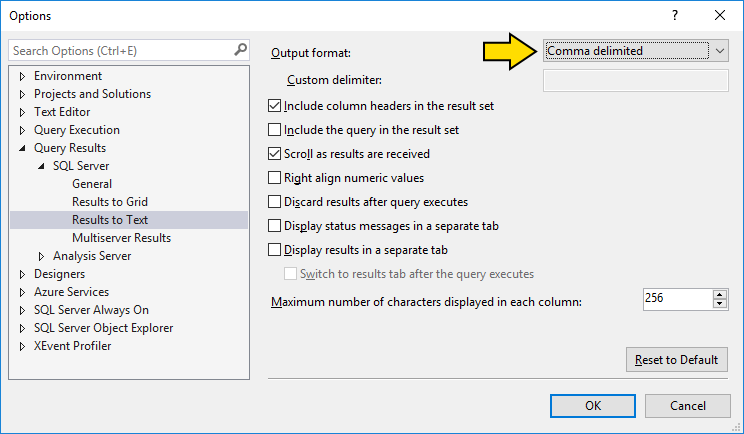
SSMS: Change Query Output Format
To change the default SQL Management Studio output format options:
1. Open SSMS.
2. Go to Tools > Options at the top menu bar.

3. Navigate to Query Results > SQL Server > Results to Text.
4. Change the Output Format from Column aligned to Comma Delimited.
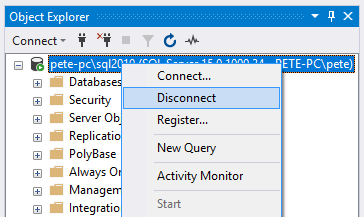
For this change to take effect we need to reconnect any open query windows.
SSMS: Export SQL Server Query to Local CSV
This part shows how to export data from a SQL Server instance to your local desktop. We have aligned our SSMS query output to the CSV format, so this is what we will be saving the file as.
In SSMS, click the Results to File button on the top menu. This means when a query is run SSMS will prompt you and ask where you want to save the output file to.
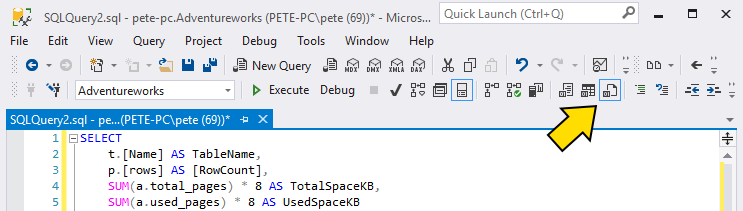
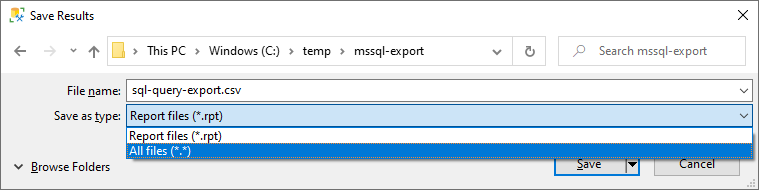
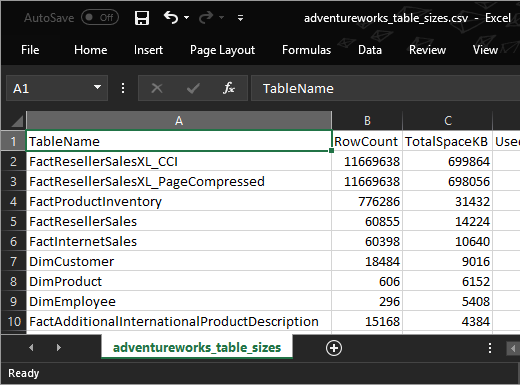
Now I’ll run the query and save it as a CSV file.
You may encounter data issues with your output data. This can vary depending on how clean the data is (whether it contains certain special characters), and other things like SET NOCOUNT in MS SQL can have some impact.