
This concise guide walks you through the steps of installing PostgreSQL on Ubuntu 20.04, specifically tailored for the Windows Subsystem for Linux (WSL). This installation is universal, ensuring compatibility with Ubuntu 20.04 and beyond.
Update Local Ubuntu Packages
Let’s start by updating our local packages using the following apt command:
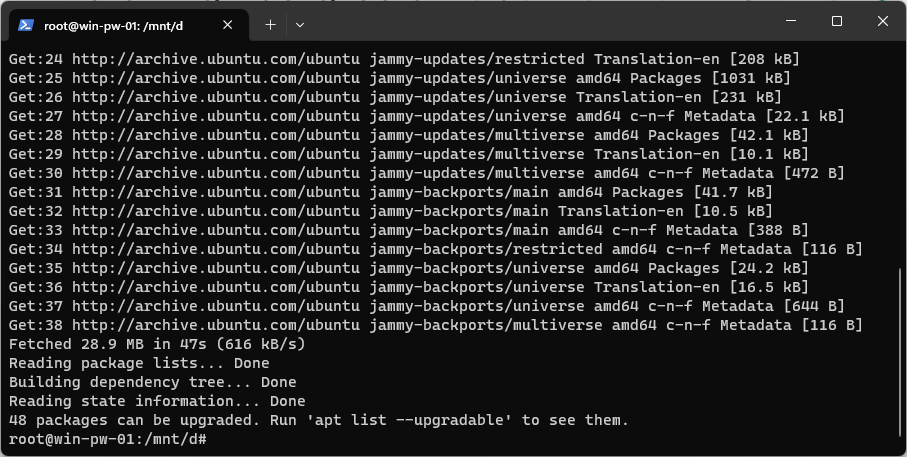

PostgreSQL Installation
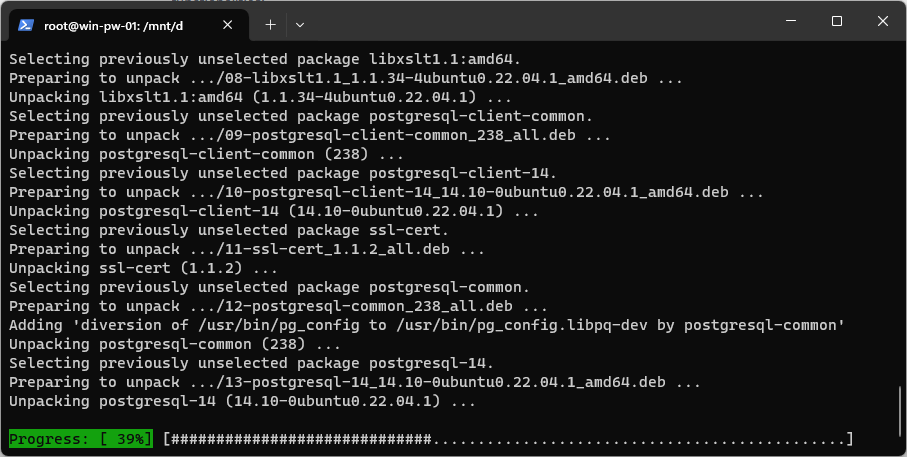
Now that your packages are up to date, proceed with the installation of PostgreSQL, which includes the ‘postgresql-contrib’ package for additional administration functionalities:
# Install PostgreSQL on Ubuntu
sudo apt install postgresql postgresql-contrib
As PostgreSQL is not installed as a systemd service within WSL, use the following command to start the Postgres service after the installation:
# Check postgresql service is online
sudo service postgresql status

# Start postgresql service Ubuntu
sudo service postgresql start
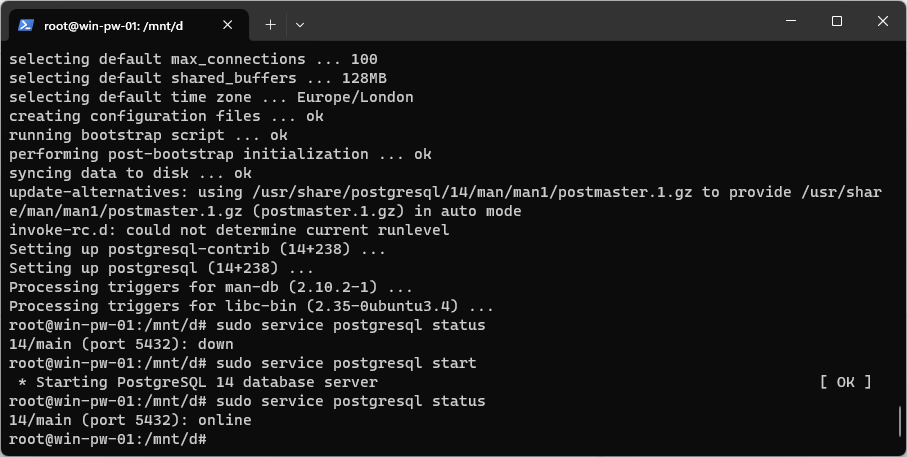
In this example, after completing the PostgreSQL installation, we use the service command to check if PostgreSQL is running. If it shows as down, we start the service and check the status again.
Accessing PostgreSQL
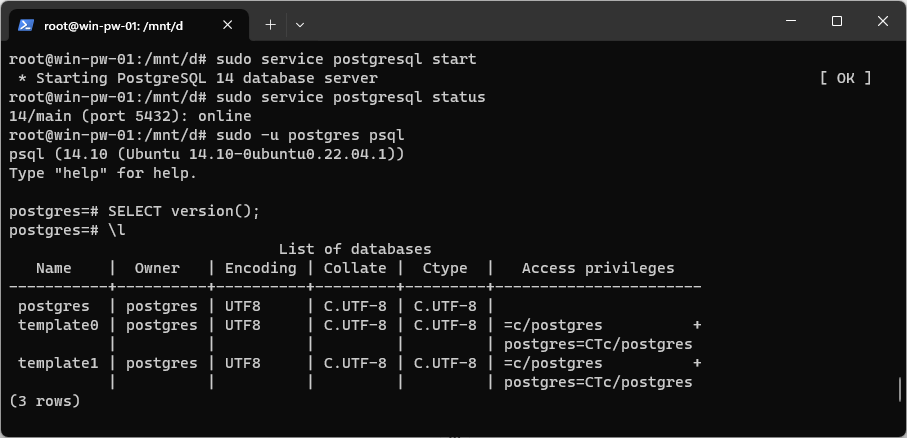
Once the installation is complete, access the PostgreSQL prompt using the default ‘postgres’ user created during the installation:
# Login to postgres with default user
sudo -u postgres psql

# List databases postgres
\l
Congratulations! You are now ready to execute various PostgreSQL commands. Enjoy exploring!